Saving a photo as a PDF on your iPhone is a great way to keep images organized, share them easily, and reduce clutter. Whether you want to email a photo or store it for later use, converting it into a PDF makes your content much more portable and accessible.
In this guide, we’ll show you how to save a photo as a PDF on iPhone using a variety of built-in apps, like the Photos app, Files app, and even Books. You'll find that it’s simple, quick, and hassle-free.

Why Convert a Photo to PDF?
There are several reasons why converting a photo to PDF on your iPhone can be useful. First, PDFs offer a more organized way to store multiple images in a single file, which is much easier to manage. Whether you’re compiling photos for a project, sharing an album, or storing pictures for long-term use, PDFs keep everything neat and in one place.
Another benefit is the universal compatibility of PDFs. They open consistently on all devices, unlike photos, which can sometimes look different depending on the app or platform. PDFs also allow you to reduce file size, which is perfect for sending via email or sharing online without worrying about large file sizes.
Lastly, PDFs allow for additional features like password protection, ensuring that only authorized users can access your photos. And if you’re printing, PDFs guarantee that your images will come out looking just as you expect.
How to Save Photos to PDF on iPhone: Step-by-Step Guide
Here’s a quick and easy way of how to make a picture a PDF on iPhone:
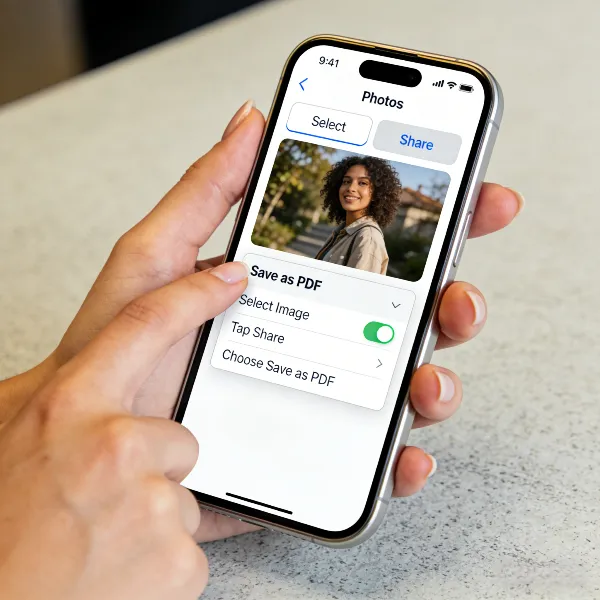
- Open the Photos App:
- Tap the Share Button:
- Select "Print" Option:
- Pinch to Zoom:
- Save as PDF:
- Choose a Location:
Go to your Photos app and find the image you want to convert.
At the bottom left, tap the Share icon (a square with an upward arrow).
Scroll down and tap on “Print” (don’t worry, we won’t actually print anything).
In the print preview screen, pinch to zoom in on the photo. This will convert it to a full-screen image.
Once you see the image in full screen, tap the Share icon again, and choose “Save to Files” or another app to save your new PDF.
You can pick iCloud Drive or any other location on your iPhone. After naming the file, tap "Save."
That’s it! Now you’ve successfully converted your photo into a PDF.
More Ways to Convert a Photo to PDF on iPhone
There are several methods of how to change photo to PDF on iPhone, depending on your preferences. Here are some additional ways:
Use the Files App
The Files app on your iPhone is another simple tool for converting photos to PDFs:
- Open the Files app and navigate to the photo you want to convert.
- Tap and hold the photo, then select “Create PDF.”
- The PDF will be created and stored in the same location.
This is perfect for users who want to keep everything within their file management system.
Use the Books App
You can also use the Books app to save a photo as a PDF on your iPhone:
- Select the photo and tap the Share button.
- Choose “Books” from the list of apps.
- The photo will be converted into a PDF and saved to your Books library.
This method is convenient for users who prefer to read or store documents in the Books app.
Use the Notes App
The Notes app can also convert photos to PDFs, and it’s a good option for people who like to take notes and store documents in one place:
- Open the Notes app and create a new note.
- Tap the camera icon to add a photo to your note.
- Once the photo is added, tap the Share button and select “Create PDF.”
This is ideal for those who want to organize photos alongside their notes.

More Tips for Saving Photos as PDFs on iPhone
Here are some additional tips to make your PDF-saving process even smoother:
- Batch Convert Photos: You can select multiple photos in the Photos app and convert them into a single PDF document. Just tap and hold to select multiple images and follow the same steps.
- Keep Your Image Quality: When converting a photo to PDF, make sure that the image resolution is high enough, especially if you plan to print it later. Higher resolution images will ensure better print quality.
- Use Cloud Storage: To easily access your PDFs on any device, consider saving them to a cloud storage service like iCloud Drive. This way, you can access your PDFs wherever you are.
- Rename Your PDFs: When you save your photos as PDFs, be sure to give them a meaningful name. This will help you stay organized, especially if you’re dealing with multiple photos or documents.
- Protect Your PDFs: If your PDF contains sensitive images, you can use a third-party app like Adobe Acrobat to add a password for extra security.

Conclusion
Saving a photo as a PDF on iPhone is easy and can be done using several different methods. Whether you use the Files app, or other tools like Books or Notes, the process is straightforward.
With these methods of how to save photo as PDF on iPhone, you can quickly and efficiently create PDFs from your photos, saving you time and helping you keep everything neat. Whether you’re organizing family photos, storing work-related images, or simply want to share them with friends, these simple steps will make managing your photos a breeze.
Also, check out our guide on making pdf fillable too!